
前回はメッセージボックスの表示方法を見ていきました。今回はデバイスごとの処理の切り替え方法を見ていきたいと思います。デバイスというのはAndrodやiOS,UWPの事です。ファイルの格納場所や,一部デバイスごとに変更したい場合が出てくることもあるのでその対処方法です。
Objectsフォルダーの作成
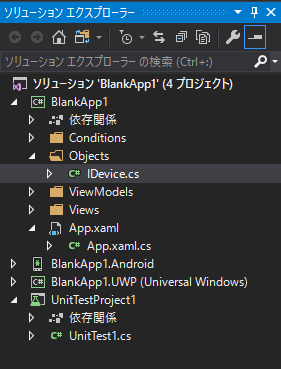
デバイスごとの切り替えにはインタフェースが必要になります。インタフェースを置いておくフォルダーとして「Objects」フォルダーを作成します。その中に「IDevice.cs」という名前のインタフェースを作成します。
using System;
using System.Collections.Generic;
using System.Text;

namespace BlankApp1.Objects
{
    public interface IDevice
    {
        string GetDeviceName();
    }
}
IDeviceインタフェースにはGetDeviceNameという名前のメソッドを1つ作成します。引数なしで,戻り値はstringとします。
AndrodプロジェクトにDeviceクラスを作成
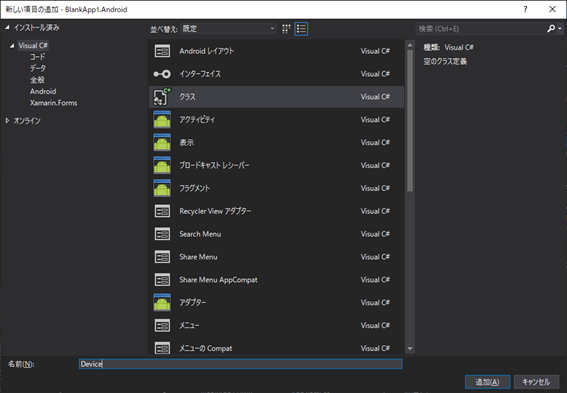
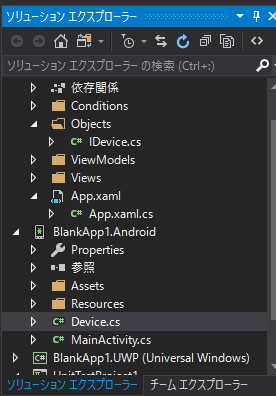
IDeviceインタフェースを作成したら,次にAndrodプロジェクトにDeviceクラスを作成します。Androdプロジェクトを右クリックして「追加」から「新しい項目」を選び「クラス」を「Device」という名前で追加します。
AndroidプロジェクトのDeviceクラス
AndrodプロジェクトのDeviceクラスに次のように記述します。
using BlankApp1.Objects;

[assembly: Xamarin.Forms.Dependency(typeof(BlankApp1.Droid.Device))]
namespace BlankApp1.Droid
{
    internal sealed class Device : IDevice
    {
        public string GetDeviceName()
        {
            return "あんどろいど";
        }
    }
}
Androidプロジェクトでしか使用しないのでアクセス修飾子はinternalにして,継承させる予定がないのでsealedとします。クラス名はDevice,IDeviceインタフェースを纏います。
Usingにusing BlankApp1.Objects;がないとエラーになるので記述します。IDeviceで定義しているGetDeviceNameメソッドがないとコンパイルが通らないので実装します。戻り値は分かりやすいように,ひらがなで「”あんどろいど”」としておきます。また,NameSpaceの上の行に[assembly: Xamarin.Forms.Dependency(typeof(BlankApp1.Droid.Device))]と記述しておきます。
UWP側の実装
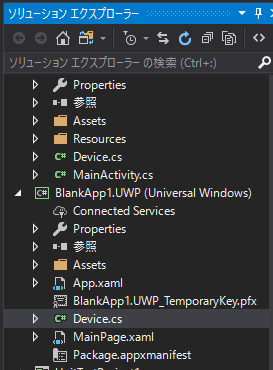
UWP側にも同じように実装します。UWPプロジェクトにDeviceクラスを追加します。
using BlankApp1.Objects;
using System;
using System.Collections.Generic;
using System.Linq;
using System.Text;
using System.Threading.Tasks;

[assembly: Xamarin.Forms.Dependency(typeof(BlankApp1.UWP.Device))]
namespace BlankApp1.UWP
{
    internal sealed class Device : IDevice
    {
        public string GetDeviceName()
        {
            return "ゆーだぶるぴー";
        }
    }
}
内容はAndroidの時と同じで,namespaceの上の行に書く自信のnamespaceがUWPに変わる程度です。
使う側
ここまでで,IDeviceインタフェースにGetDeviceNameを定義し,AndrodプロジェクトとUWPプロジェクトにそれぞれIDeviceインタフェースを纏ったDeviceクラスを定義しました。この状態で共通プロジェクトのBlankApp1からGetDeviceNameを呼び出すと,デバイスごとにそれぞれの動作をすることを確認したいと思います。
MainPageViewModelの変更
MainPageViewModelのMessageShowメソッドに
「Title = _dependencyService.Get<IDevice>().GetDeviceName();」の記述を追加します。
using BlankApp1.Conditions;
using BlankApp1.Objects;
using BlankApp1.Views;
using Prism.Commands;
using Prism.Mvvm;
using Prism.Navigation;
using Prism.Services;
using System;
using System.Collections.Generic;
using System.Linq;
using System.Text;

namespace BlankApp1.ViewModels
{
    public class MainPageViewModel : ViewModelBase
    {
        private IPageDialogService _pageDialogService;
        private IDependencyService _dependencyService;
        public MainPageViewModel(INavigationService navigationService,
            IPageDialogService pageDialogService,
            IDependencyService dependencyService)
            : base(navigationService)
        {
            _pageDialogService = pageDialogService;
            _dependencyService = dependencyService;
            ButtonC = new DelegateCommand(SetText);
            NextCommand = new DelegateCommand(PageBShow);
            MessageCommand = new DelegateCommand(MessageShow);
            Title = "Main Page";

            LabelC = "DDD";
        }

        private string _labelC = string.Empty;
        public string LabelC
        {
            get { return _labelC; }
            set
            {
                SetProperty(ref _labelC, value);
            }
        }

        public DelegateCommand ButtonC { get; set; }
        public DelegateCommand NextCommand { get; set; }

        public DelegateCommand MessageCommand { get; set; }
        private void SetText()
        {
            LabelC = "EEE";
        }

        private void PageBShow()
        {
            var param = new NavigationParameters
            {
                {nameof(PageBCondition),new PageBCondition("XXXX") },
            };

            NavigationService.NavigateAsync(nameof(PageBView), param);
        }

        private void MessageShow()
        {
            _pageDialogService.DisplayAlertAsync("たいとる", "めっせーじ", "OK", "キャンセル");

            Title = _dependencyService.Get().GetDeviceName();
        }
    }
}
「_dependencyService」というのは,メッセージボックスの表示で使ったのと同じように,コンストラクタで「IDependencyService dependencyService」と書いておくと,あとはPrismが勝手に値を設定してくれます。これをPrivate変数に保持しておきます。
dependencyServiceのGetに続いてIDeviceインタフェースを指定するとGetDeviceNameを呼び出せるようになります。実行するとデバイスごとの値が返ってくるので,それをTitleプロパティに設定しています。これを実行するとAndroidで実行すると「あんどろいど」,UWPで実行すると「ゆーだぶるぴー」とタイトルに表示されるはずです。実行してMESSAGEボタンを押下してみましょう。
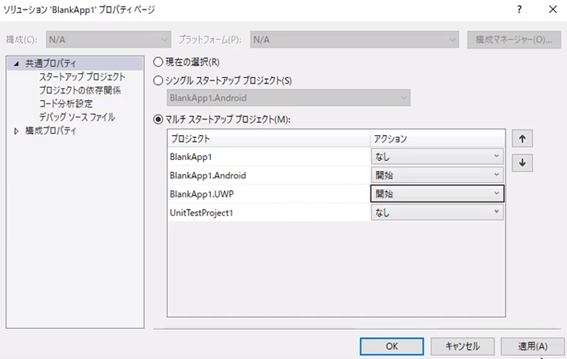
マルチスタートアップ設定
プロジェクトを同時に実行する場合はソリューションのプロパティから「マルチスタートアッププロジェクト」にして,必要なプロジェクトを開始にしておきます。
実行
それぞれの画面で「MESSAGE」ボタンを押下するとタイトルが変更されることが確認できます。

これでデバイスごとの切り替えが成功しているのがわかります。